Versions Compared
| Version | Old Version 7 | New Version Current |
|---|---|---|
| Changes made by | ||
| Saved on |
Key
- This line was added.
- This line was removed.
- Formatting was changed.
The Scan page is used for "continuous" QR scanning and tracking status updates. With each scan, the select Status, ProcessorDivision, Comment, Hours, and Cost Type will be applied to the scanned QR code for the part, assembly, or package. Currently, the The Scan page for updating tracking statuses only works with an actual hand held scanner input device devices connected to a computer logged into STRATUS . Cameras and scan applications on phones and tablets only work for scanning the URL and opening the scanned part, assembly, or package on a STRATUS landing page in a browser.as well as iPad and table cameras.
| Table of Contents | ||
|---|---|---|
|
Videos
STRATUS 09-26-19 Implementation Webinar - QR Code Workflows (30:08)
Widget Connector width 640 url https://vimeo.com/manage/362660942/embed height 364
Video: Phone Status Updates (0:45)
Widget Connector width 640 url https://vimeo.com/manage/365129753/embed height 364
Configuration and Use
To use the Scan page
- Do one of the following to connect between STRATUS and the Scanner:
- Connect a wired or Bluetooth hand Handheld scanner to a device where you have logged into STRATUS and have opened the Scan page.
- Connect with a Bluetooth scanner tethered to phone or tablet as input device where you have logged into STRATUS and have opened the Scan page.
- Connect with an iPad or Tablet computer that has a built-in camera where you have logged into STRATUS and have opened the Scan page.
- On the Scan page, set the Status drop-down optionfollowing. All settings are optional as any data can be updated.
 Image Added
- Add Assembly on Scan (Optional) - By checking this checkbox, when the part is contained in an assembly, any changes made to the Status will be applied to all parts in the assembly.
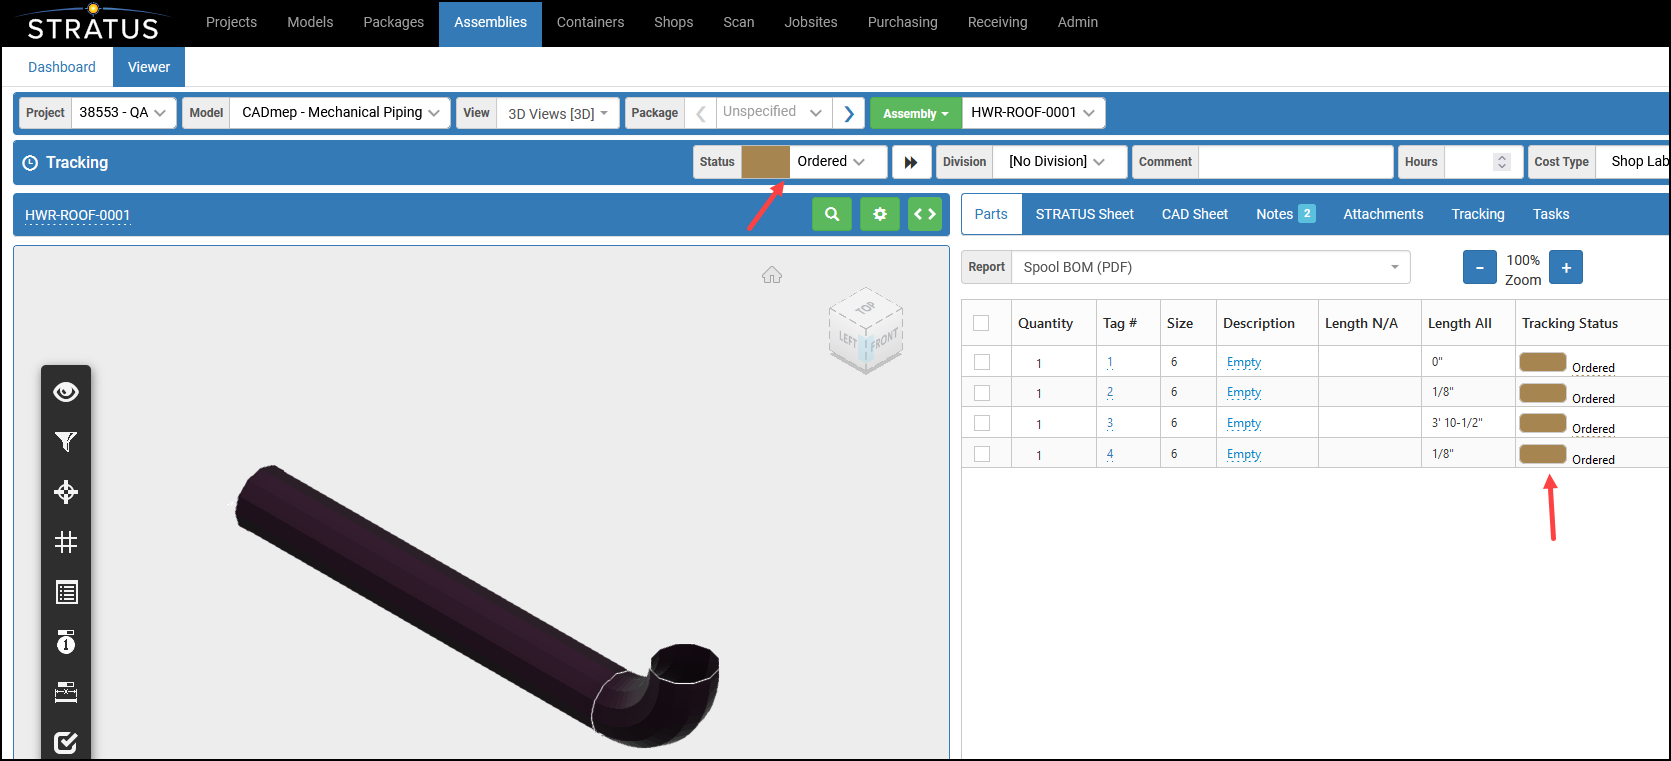
For example:- The Tracking Status of all parts in this assembly are set to Ordered.
 Image Added
 - After opening the Scan page, updating the desired settings, and clicking either Begin Scan button, the page will look similar to the following:
 Image Added
 - With the page active (click in any white space if you have changed tabs), scan the QR Code of any part in the assembly.
- The Scan page will update similar to the following:
 Image Added
 - The assemblies Tracking Status will be updated:
 Image Added
- The Scan page will update similar to the following:
- The Tracking Status of all parts in this assembly are set to Ordered.
- Status (Optional) - Select the Status to be set after the scan is made. The list of
- Divisions will be filtered.
 Image Removed
Click the Begin Scan- Division (Optional) - Select the Division to be set after the scan is made.
- Comment (Optional) - Enter a comment to display on the Tracking row after the scan is made.
- Hours (Optional) - Enter hours to be calculated after the scan is made.
- Cost Type (Optional) - Select the Cost Type to be set after the scan is made.
- Add Assembly on Scan (Optional) - By checking this checkbox, when the part is contained in an assembly, any changes made to the Status will be applied to all parts in the assembly.
- Select a Begin Scan option:
- If using option 1a, above, click the Begin Scan (Handheld) button.
- If using option 1b or 1c above, click the Begin Scan (Camera) button.
- Scan the QR code.
 Image Added
 - The tracking table will populate. If you have selected a tracking status that is not applicable to the type of code scanned, an annoying error sound will clank and an “Unrecognized Code” error message will display. Otherwise, the tracking status will update in the grid.
 Image Removed
  Image Removed
 Image Added
 - Click the Change Status button to apply a different tracking status to the parts, assemblies, or packages to be scanned next.
- Click the Clear button to clear all scanned rows on the Scan page. Click the Remove Item button to remove an individual item.
To access information about the scanned item
- Once a QR code has been scanned, a row of information will display about the scanned part including the QR code.
 Image Removed
 Image Added
 - Click the QR code or scan the QR code with a tablet or smart phone that is logged into STRATUS. An item landing page similar to the following will display.
 Image Removed
 Image Added
 - Here you have access to:
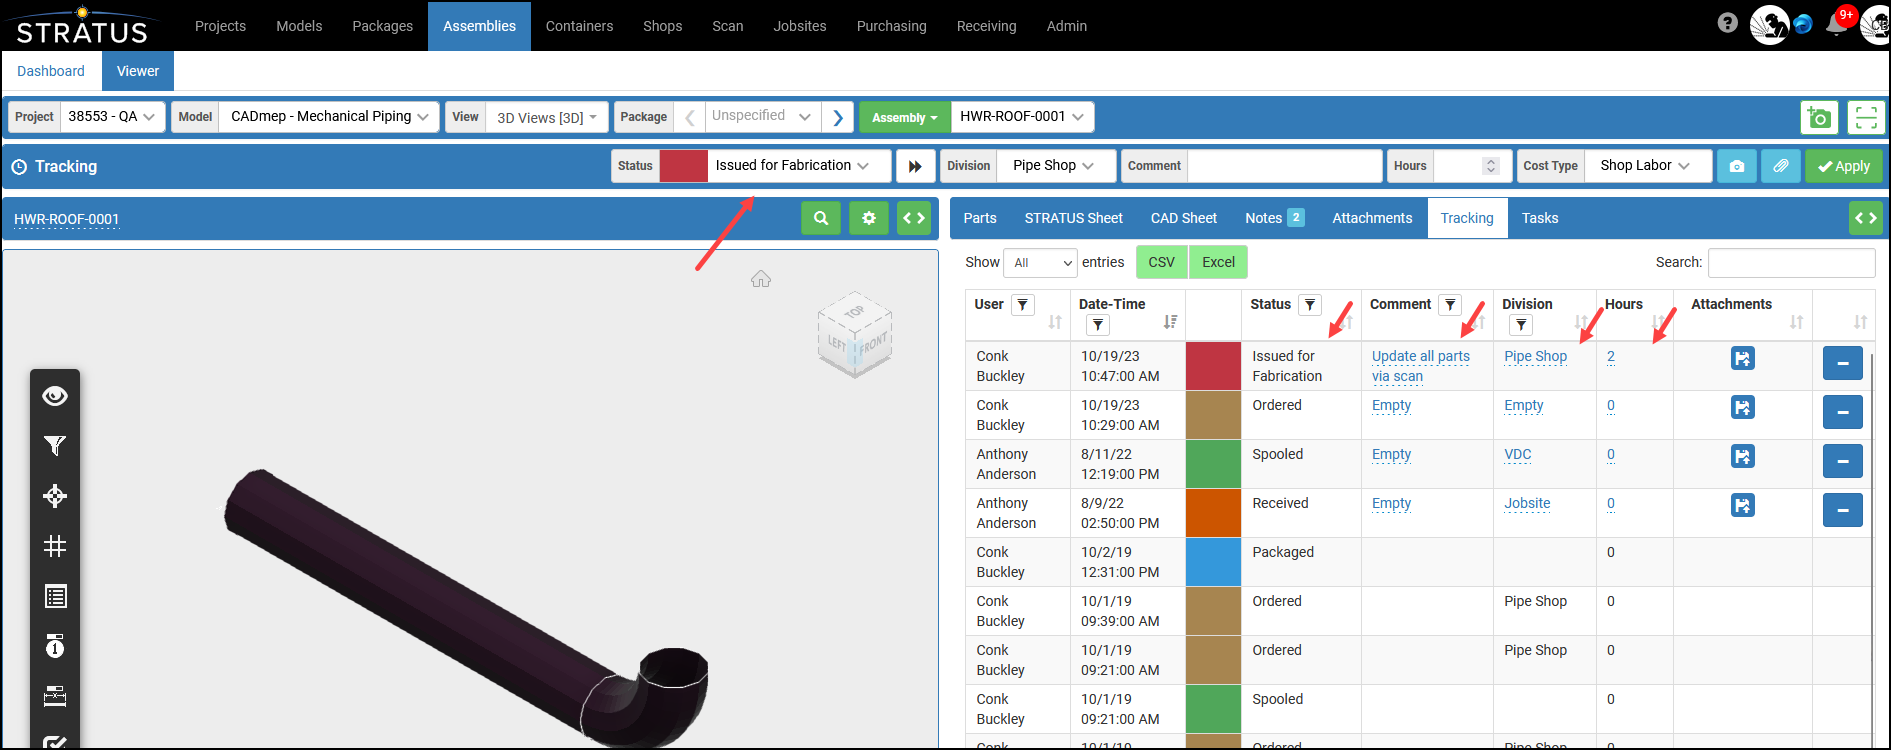
- The Tracking status history.
- The View Assembly button where where the Assemblies Viewer will display., or,

- The View Container button where the Containers page displays, or,
 Image Added
 - The View Location button where the item is Isolated in the Models Viewer with the “Show hidden parts shaded” checkbox checked.

Related Articles
QR Code Scanning in STRATUS
The graphic below shows the types of QR codes that can be generated and where they are scanned in STRATUS. See the STRATUS 09-26-19 Implementation Webinar (QR Code Workflows 30:08) for more information.
 Image Added
| Page Properties | ||
|---|---|---|
| ||